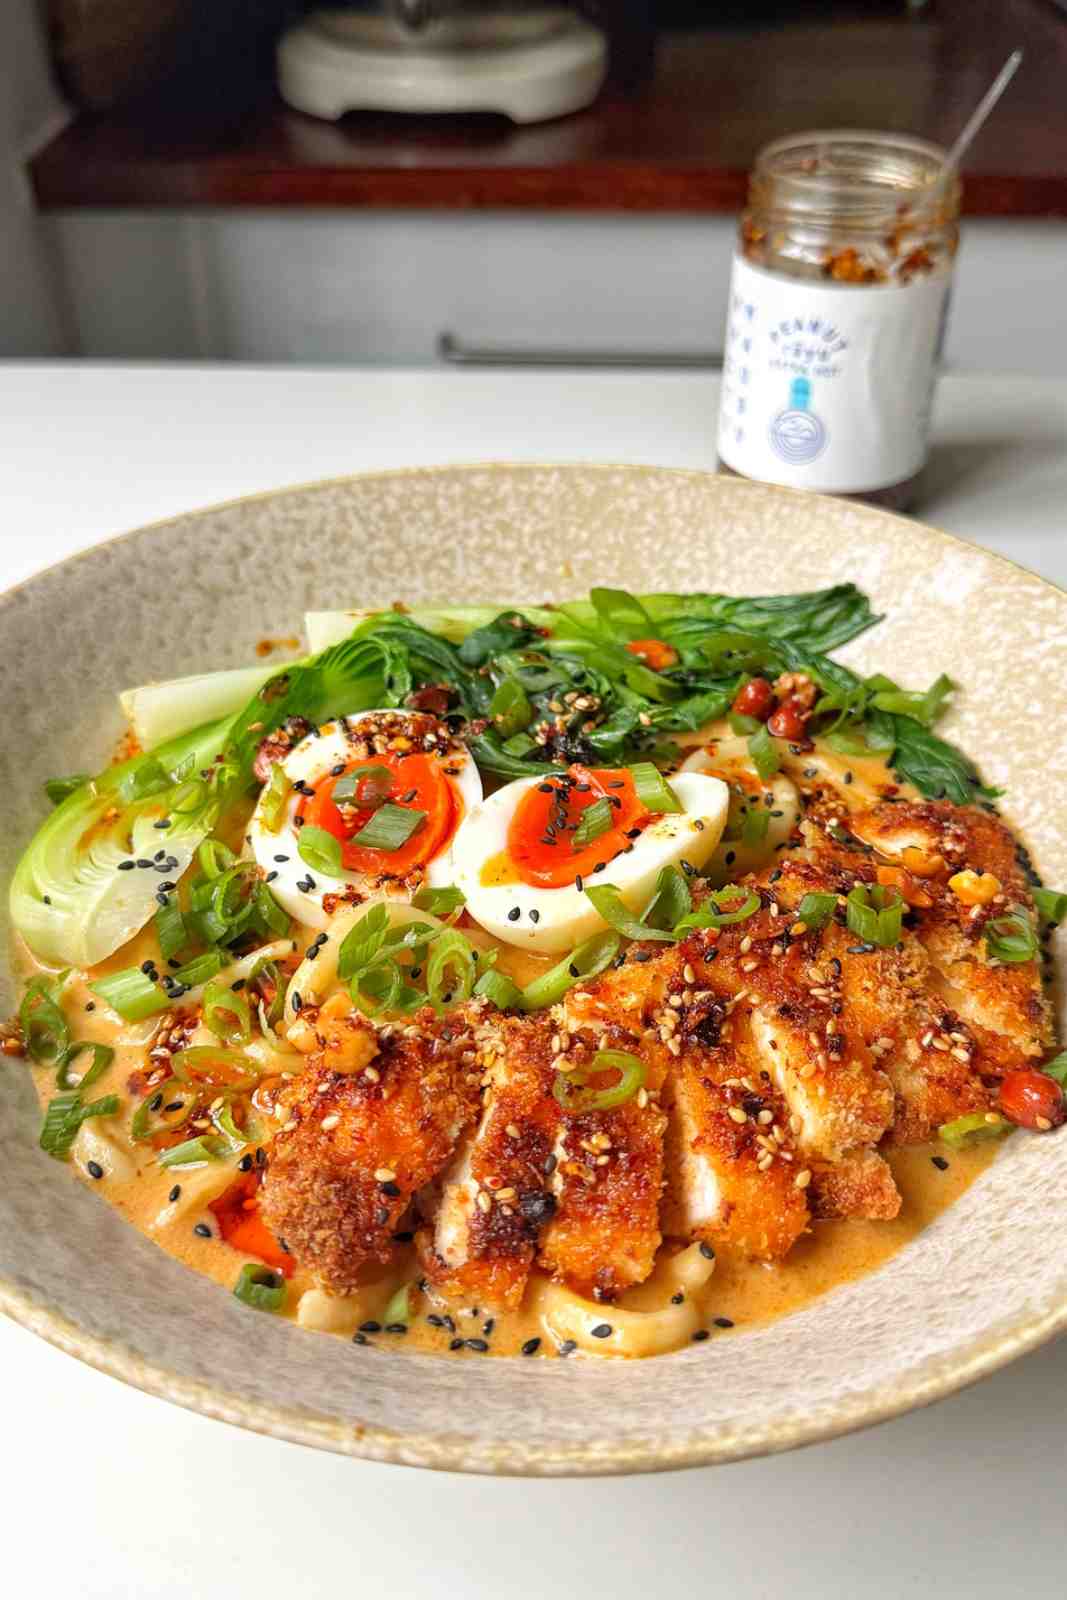
I get so excited when I know we've got this Chicken Katsu Ramen for dinner. The chicken katsu is crunchy on the outside and juicy on the inside. The ramen broth is made with red thai curry paste, peanut butter, soy sauce, and chicken broth...and it is SO delicious and easy to make. I hope you love it as much as we do!
The crispy chicken katsu is made in the air fryer (I like making mine from scratch but if you don't have time and fancy using store-bought panko covered chicken, go for that!), and the ramen broth is all made in one pan, meaning its low effort and easy to rustle up after a long day!
If you're as obsessed with noodle dishes as I am, check out my marry me chicken ramen, spam ramen with egg, easy curry noodles, or these spicy peanut butter noodles!
Why You'll Love This Recipe
- Flavour: the creamy slightly spicy broth in this chicken katsu ramen recipe is unreal. I'm using good quality red thai curry paste and crunchy peanut butter which makes a big difference to the result of your dish! Whether you're making this after a long day and you need something quick and delicious, or you're serving this at a dinner party for your friends, I promise you everyone will be impressed!
- Easy: the chicken katsu is made in the air fryer, so there's no need to worry about oil or frying time. The broth is made all in one pan, and then the toppings are for you to play with! You'll be getting this dish on the table within 30 minutes!
- Comforting: don't get me wrong, I could eat this in any month of the year, but it's especially delicious during the colder months.
Ingredients and Substitutions
Chicken: we're using chicken breast for this recipe, but you could totally use boneless and skinless chicken thighs for a juicier, smaller portion option! Feel free to use tofu for a plant-based option (I'd slice the tofu into slabs to make little tofu steaks).
Panko: these are Japanese style breadcrumbs and they're perfect for our lightweight golden chicken katsu coating. If you can't find these, then I'd recommend blending your own white bread into coarse breadcrumbs. Make sure to use gluten-free bread if you're intolerant to gluten.
Red thai curry paste: I love using Mae ploy red thai curry paste, the flavour is fantastic. The quality of the red curry paste will make a big difference to the flavour of your dish, so try and get a good quality paste!
Peanut butter: I love using crunchy peanut butter, but you can use smooth if you fancy.
Soy sauce: light soy sauce is great for this recipe.
Coconut milk: full fat coconut milk will give you the most flavour, but feel free to go for lighter coconut milk if you fancy.
Chicken stock: I use a chicken stock cube with 600ml of water, but if you have homemade or even store-bought chicken broth, feel free to use that! For those keeping this plant-based, go for veggie stock.
Noodles: you can go for any type of noodle you fancy, but I love ramen noodles or udon noodles.
Toppings: pak choi, a jammy egg, and spring onions are my go-to toppings! Other options you could go for are edamame beans, tenderstem broccoli, sesame seeds, crispy onions, or coriander.
The full list of ingredients and measurements is at the bottom of this blog, just scroll down to find the recipe card!
Step by Step Instructions with Photos
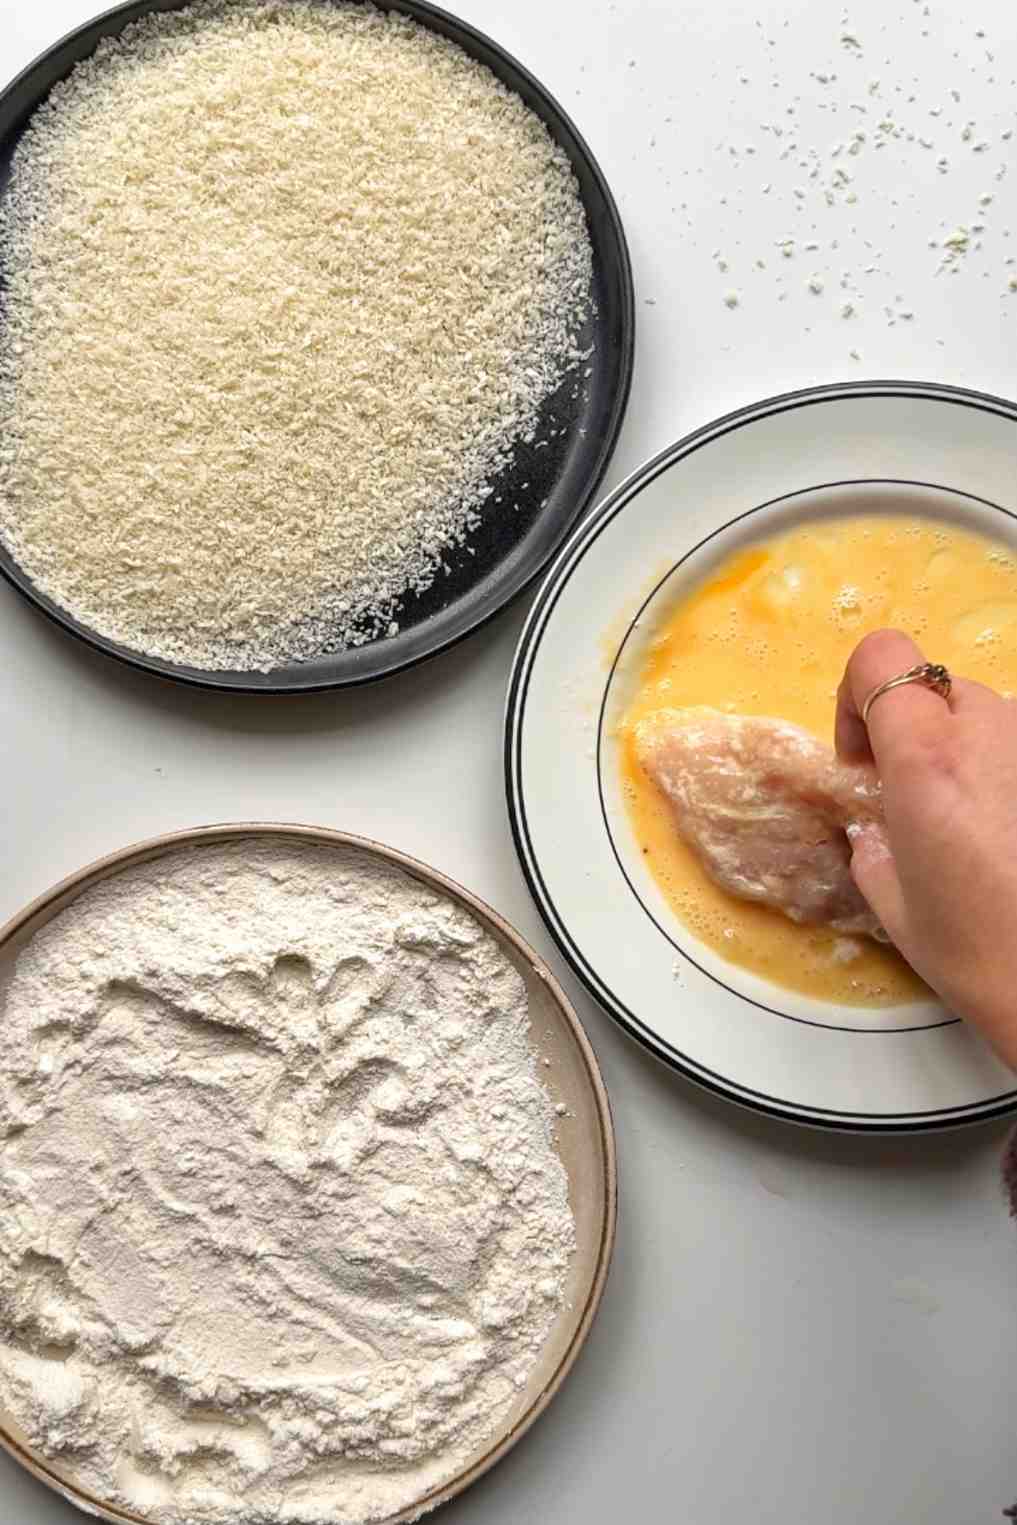
Step 1: Place your chicken breasts between two sheets of parchment paper and bash them with the back of a frying pan until ½ inch thick. Then coat in seasoned flour, followed by whisked egg, and lastly with panko breadcrumbs. Do this for both chicken breasts, then place on an air fryer tray or into the air fryer, spray with oil and air fry for 20 minutes at 220c / 420F - flipping after 15 minutes. NOTE: every air fryer is different. Our goal is to have cooked chicken with a golden panko crust. Adjust the temperature to ensure your panko doesn't burn.
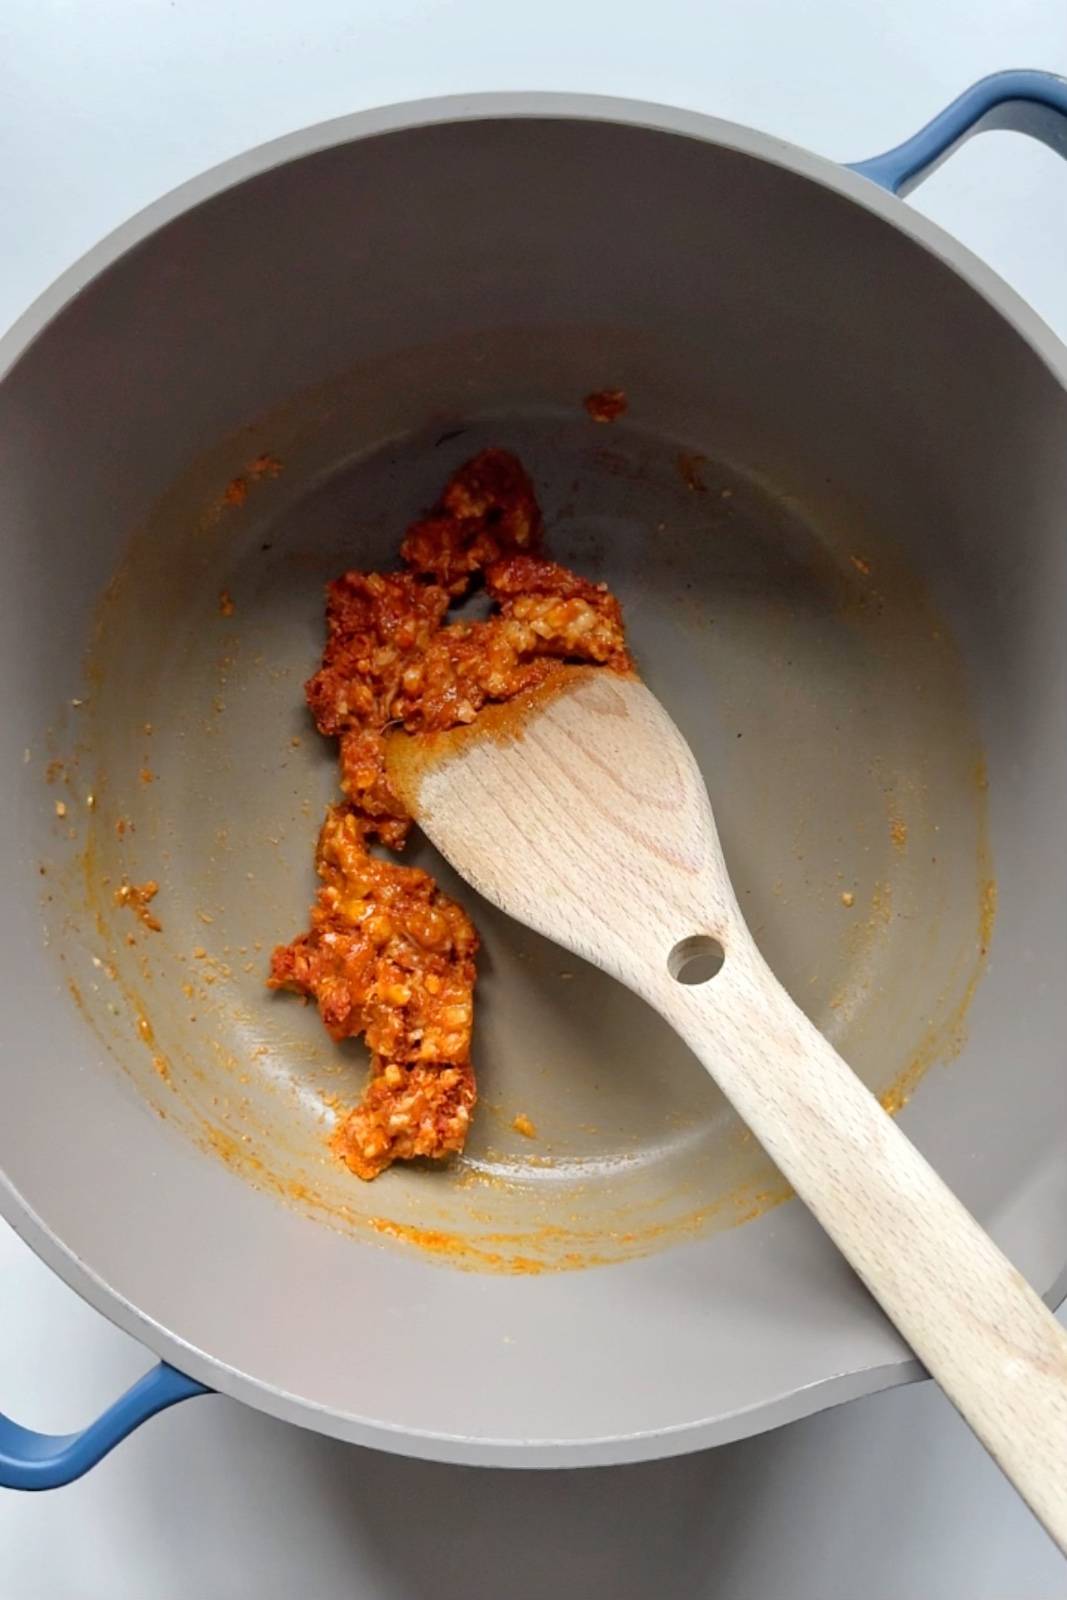
Step 2: Place a large pot on medium heat and drizzle with vegetable oil. Add in the minced garlic and fry for 30 seconds, then add in the red thai curry paste, peanut butter, soy sauce, and stir.

Step 3: Next up, add in the coconut milk and chicken stock. Bring to the boil, then reduce the heat.
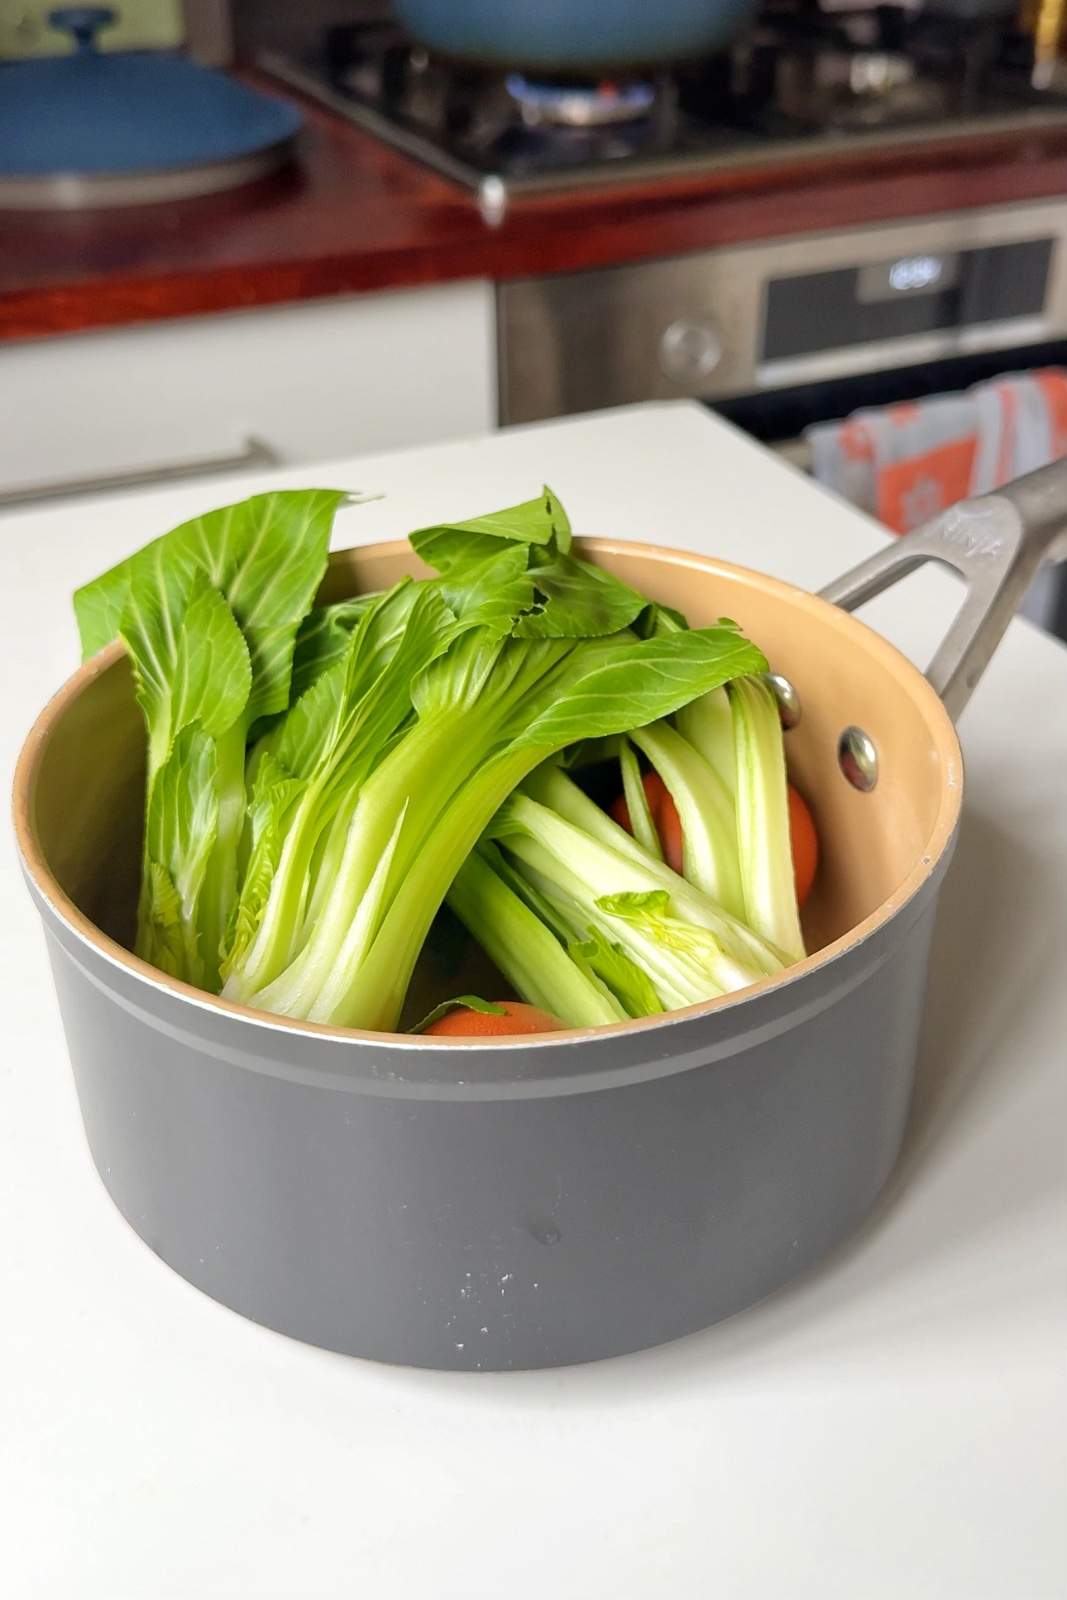
Step 4: Place the eggs and pak choi in a saucepan and cover with boiling water. Cook for 6 minutes, then remove the eggs and place into cold water and strain the pak choi.

Step 5: When the chicken is nearly ready, (a few minutes away), add the noodles to the broth and cook according to packet instructions until al dente.
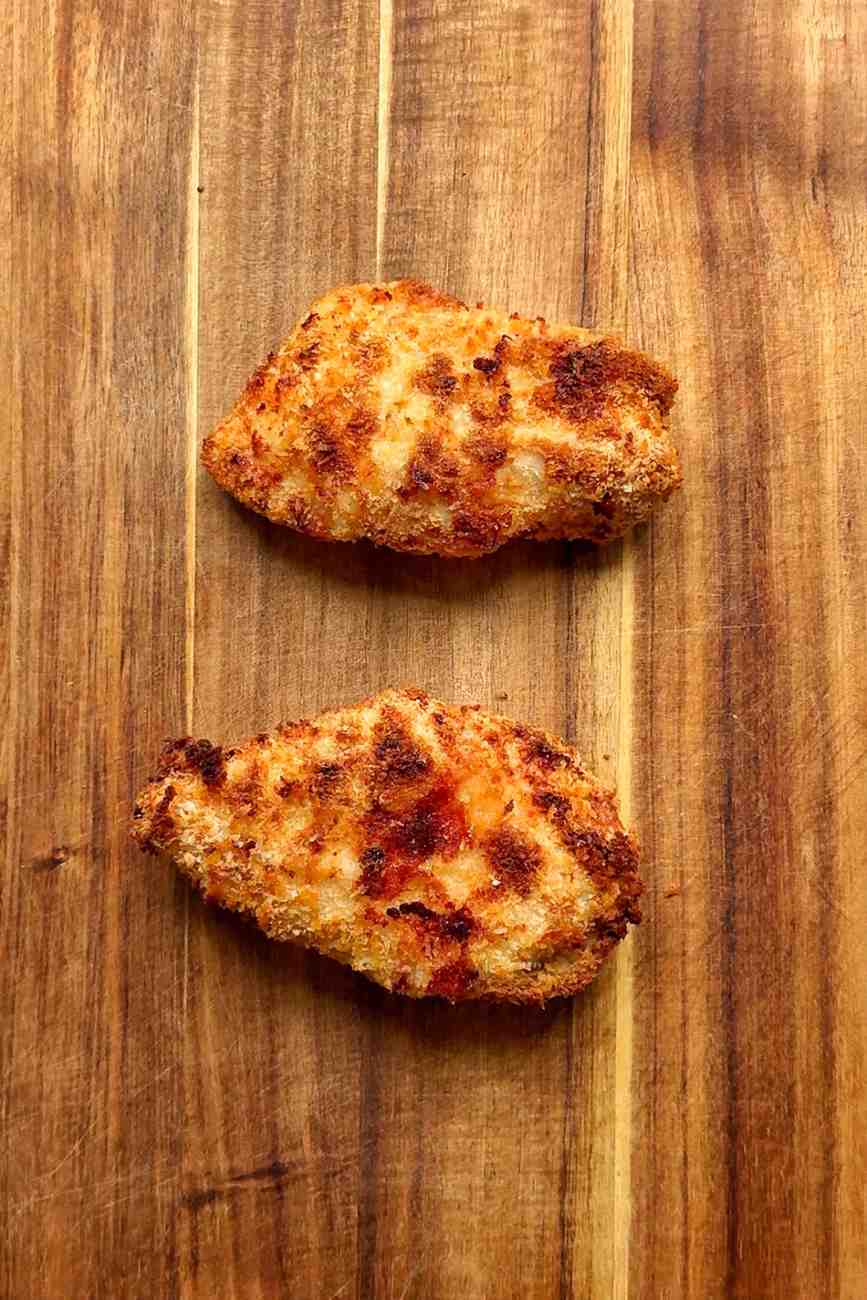
Step 6: Remove the chicken katsu from the air fryer and slice into pieces.
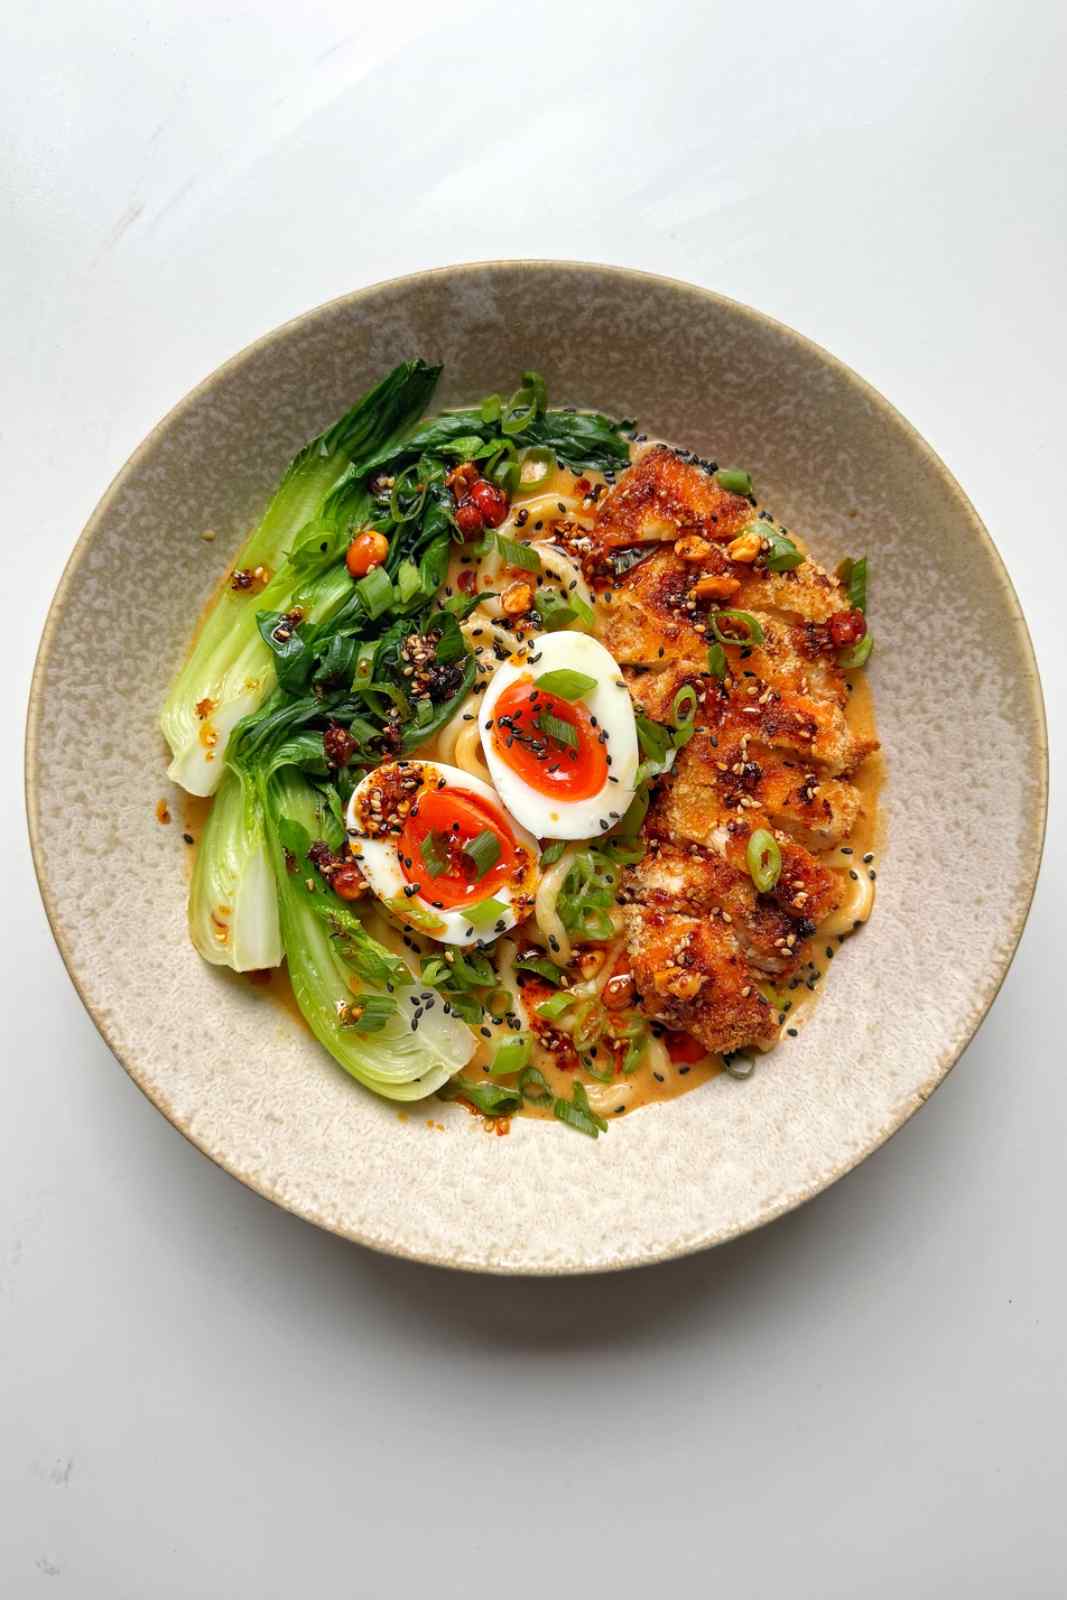
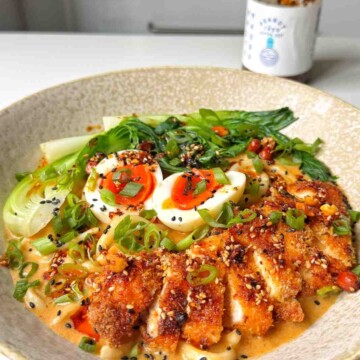
Step 7: Once all of your elements are ready, time to serve up! Divide the noodles and ramen broth between two bowls. Top each bowl with the sliced katsu chicken, pak choi, jammy egg, spring onions and then optionally some chilli oil!
FAQs
Yes! Swap out the chicken breast with a thin slab of tofu and the egg with plant-based milk. Replace the chicken stock with veggie stock. Omit the jammy egg.
Any you like really! I love udon, ramen noodles, or soba.
Place any leftovers in a tupperware and into the fridge for up to 3 days. To reheat, leave the lid ajar and reheat in the microwave for a couple of minutes or until piping hot.
If you tried this Chicken Katsu Ramen or any other recipe on my website, please leave a 🌟 star rating and let me know how it went in the 📝 comments below. Thank you!
Chicken Katsu Ramen
Ingredients
For the chicken katsu
- 2 chicken breasts
- 4 tablespoon panko breadcrumbs
- 4 tablespoon plain flour seasoned with salt and pepper
- 1 egg whisked
For the broth
- 1 tablespoon vegetable oil
- 3 garlic cloves minced
- 1 tablespoon red thai curry paste I used Mae Ploy red thai curry paste. If you're using a supermarket owned thai curry paste, feel free to add more based on your preferences!
- 2 tablespoon crunchy peanut butter
- 1 tablespoon light soy sauce
- 400 ml coconut milk
- 600 ml chicken stock I used 1 chicken stock cube with 600ml boiling water
- 2 portions udon noodles I used ready to cook udon noodles
Toppings
- 2 pak choi sliced lengthways into quarters.
- 2 eggs
- 2 spring onions finely sliced
- 1 tablespoon chilli oil optional
- 1 tablespoon sesame seeds optional
Instructions
- Place your chicken breasts between two sheets of parchment paper and bash them with the back of a frying pan until ½ inch thick.
- Place the flour, egg, and panko breadcrumbs in separate bowls/small plates ready to coat the chicken.
- Coat each chicken breast in seasoned flour, followed by whisked egg, and lastly in panko breadcrumbs. Do this for both chicken breasts, then place on an air fryer tray or into the air fryer compartment, spray with oil and air fry for 20 minutes at 220c / 420F; flipping after 15 minutes to cook on the other side for the final 5 minutes. NOTE: I'm using the Our Place Wonder Oven air fryer but every air fryer is different. Our goal is to have cooked chicken with a golden panko crust. Adjust the temperature to ensure your panko doesn't burn - you might want to start off cooking the chicken at a lower temperature if your air fryer has a tendency to burn things, for example! 🙂
- Meanwhile, place a large pot on medium heat and drizzle with vegetable oil. Add in the minced garlic and fry for 30 seconds, then add in the red thai curry paste, peanut butter, soy sauce, and stir.
- Next up, add in the coconut milk and chicken stock. Bring to the boil, then reduce the heat to low and add on the lid.
- Place the eggs and pak choi in another small saucepan and cover with boiling water. Cook for 6 minutes, then remove the eggs and place into cold water and strain the pak choi.
- When the chicken is nearly ready, (a few minutes away), add the noodles to the broth and cook according to packet instructions until al dente.
- Remove the chicken katsu from the air fryer and slice into pieces.
- Once all of your elements are ready, time to serve up! Divide the noodles and ramen broth between two bowls. Top each bowl with the sliced katsu chicken, pak choi, jammy egg, spring onions and then optionally some chilli oil. Enjoy!!
Leave a Reply